I’d recommend reading this entire page regardless of what you plan to attach your Cave Box too.
- Attaching the Cave Box to a Plastic Tub
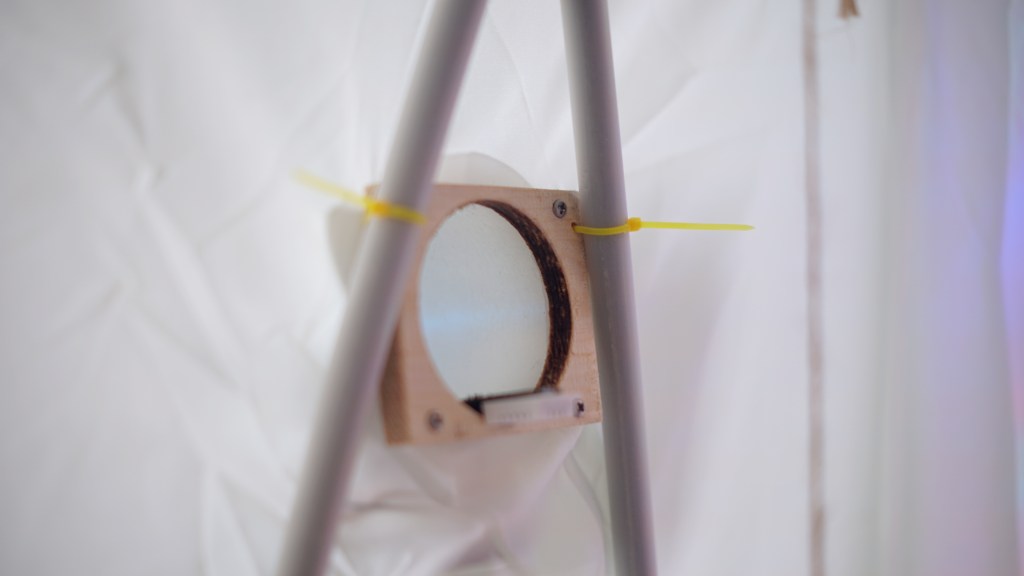
- Attaching a Cave Box to a tent.
- Filters on Tents
- Using the Cave Box for the first time.
- Maintenence
Attaching the Cave Box to a Plastic Tub.
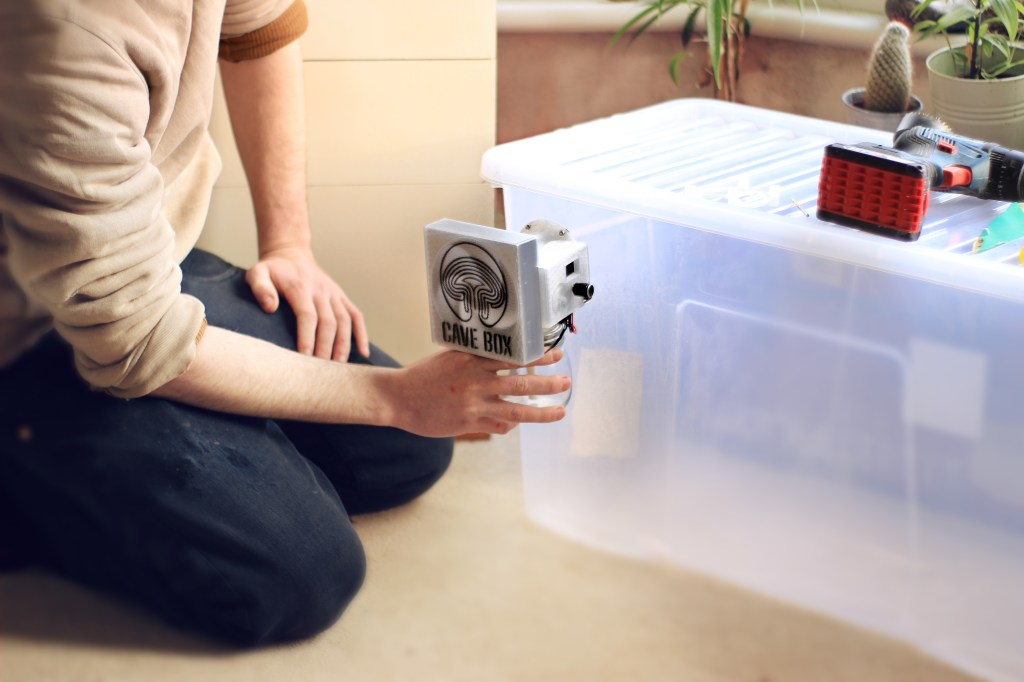
As the Cave Box is only a component in your mushroom fruiting chamber you will have to modify a container and bolt the Cave Box to it. This is very likely to involve the use of tools so you install the Cave Box at your own risk and I am in no way responsible for any damage you do to any persons or property as a result of these instructions.
If anything on this page isn’t clear please send me an email and I will try and explain it better to make sure you can get your Cave Box up and running.
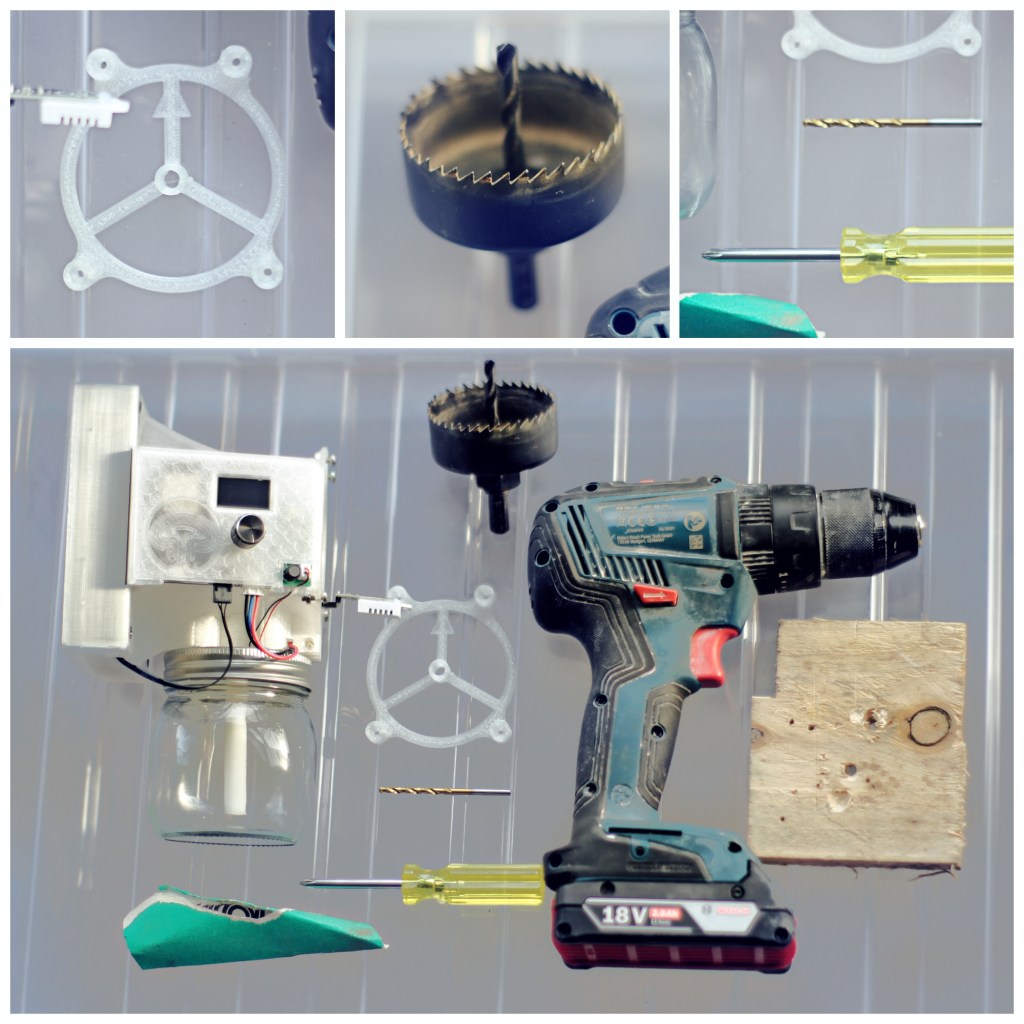
The end goal is having 4 smaller holes to bolt the Cave Box onto as well as an opening in the middle for fresh air and water vapour to go through. The process is repeated twice, once for the Cave Box and once to attach the filter.
You need at minimum your Cave Box, a drill with a 3.2mm bit (or 3.5mm or a close imperial bit is also ok), a cross head screwdriver and a plastic tub to attach it to.
A hole saw is also very useful for making the large central opening. A 60mm one is ideal, however other sizes close to this should work too.
You will also need a micro usb cable and a usb wall plug adaptor. These are not included as I figure most people have spare ones already and this way you can get a plug with the right socket for your country.
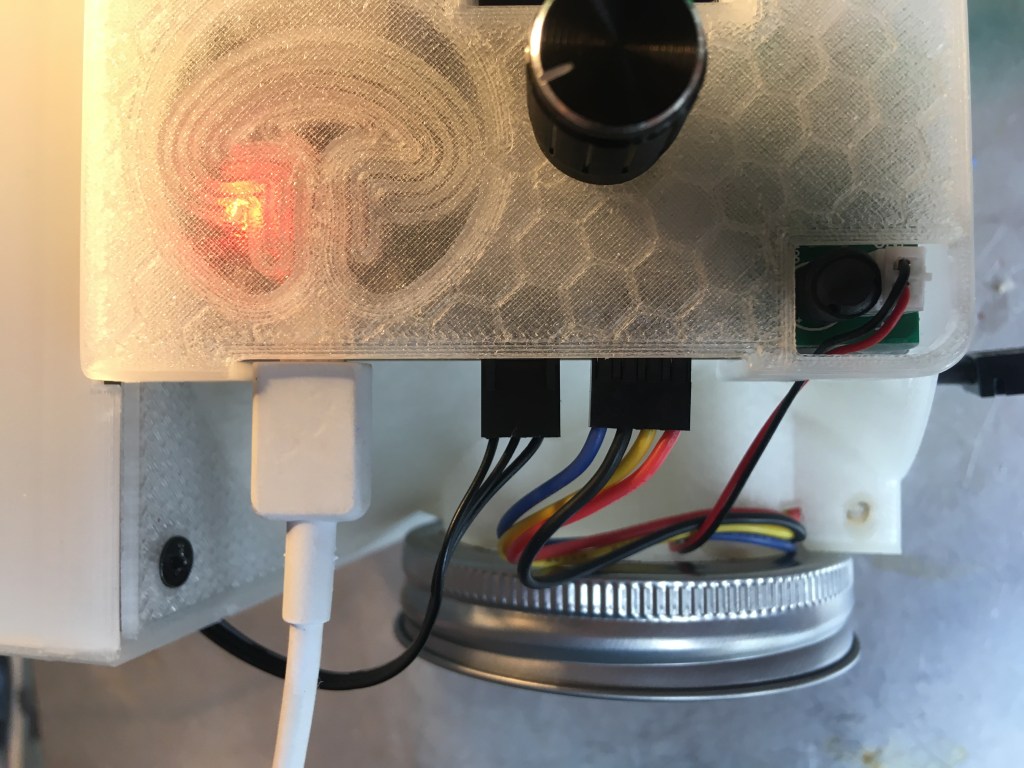
If you have the larger white humidity sensor it is taped to the inside of the Cave Box. Remove it and plug it into the black socket, with the white grill facing down as in the photo. If your Cave Box came with a smaller black sensor already plugged in you can skip this step.
You need to decide where to position the Cave Box. I recommend somewhere near the top of the tub, so spores are further from it, but not so close as to stop the lid of the tub from closing.
Plastic tubs are made out of quite a brittle material, so make sure that you have a piece of wood or something like that behind the plastic while drilling. Also don’t push hard on the drill, as this is liable to flex the plastic too much and cause it to break. Go slowly. If you make a mistake and want to start again you can reseal the holes you’ve already drilled with heavy duty tape, this shouldn’t stop your fruiting chamber from working.
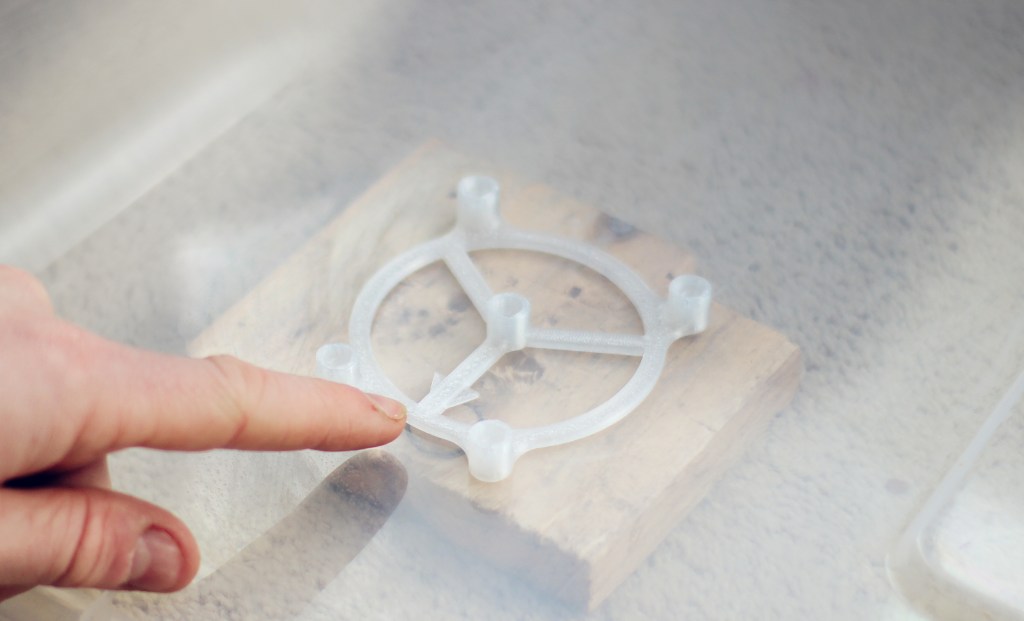
Place the drill guide onto the tub where you want the Cave Box to go, put a piece of scrap wood under the tub to support the back of the plastic when drilling. Position the drill guide so the arrow on one of the spokes points up. Drill the four outer mounting holes using the guide to position them correctly. After drilling each hole it’s helpful to put a bolt through to keep the drill guide aligned to the holes already drilled.

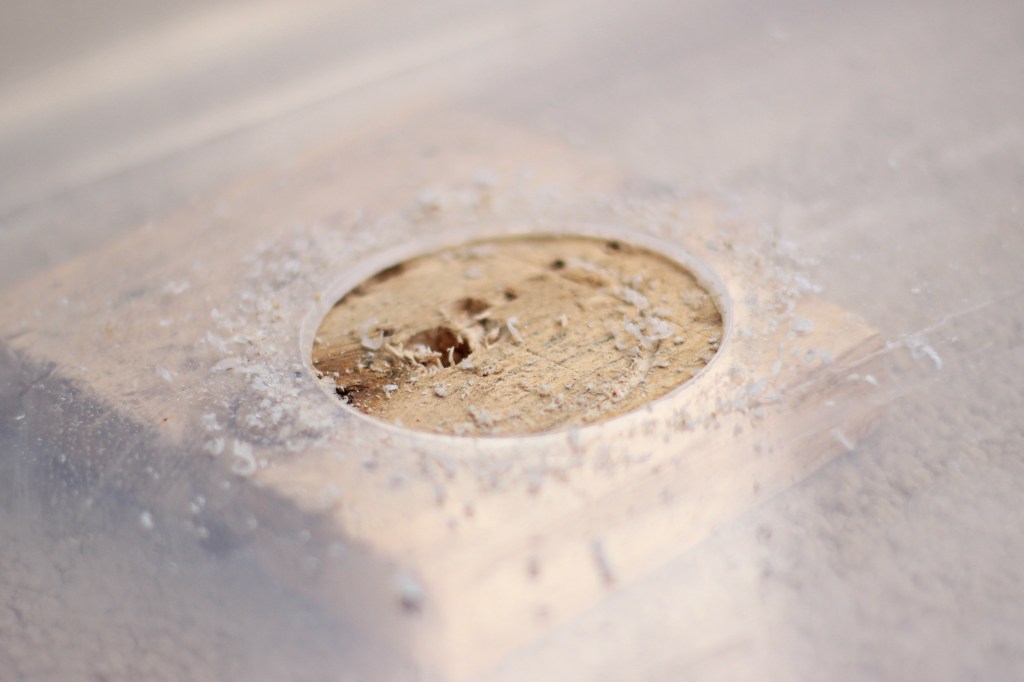
If you have a hole saw, use the centre hole in the drill guide to drill a guidance hole to align the hole saw, then remove the drill guide and carefully and slowly cut through the plastic with the hole saw.

Alternatively if you don’t have a hole saw you can mark out the inner circle from the drill guide then drill loads of holes within the circle on the drill guide, making a grill or a mesh. This will reduce the airflow slightly but it should still work and it requires only a single drill bit.
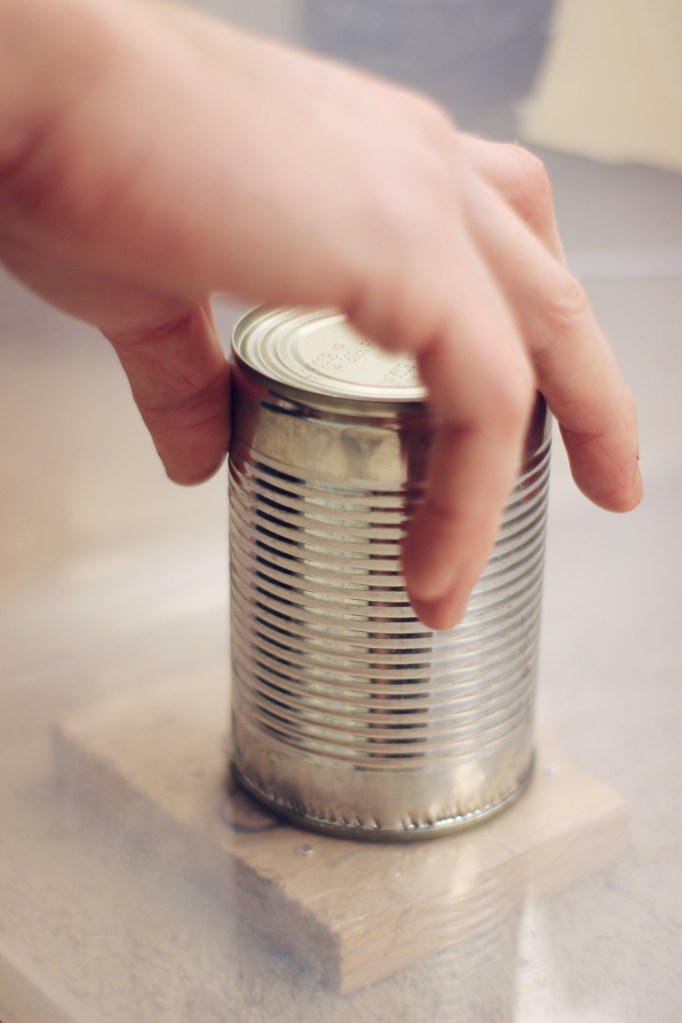
The large hole is about the same size as a standard tin can, so you could heat up an empty can on a stove and (in a well ventilated area) melt through the box to form the hole for the Cave Box to bolt onto.
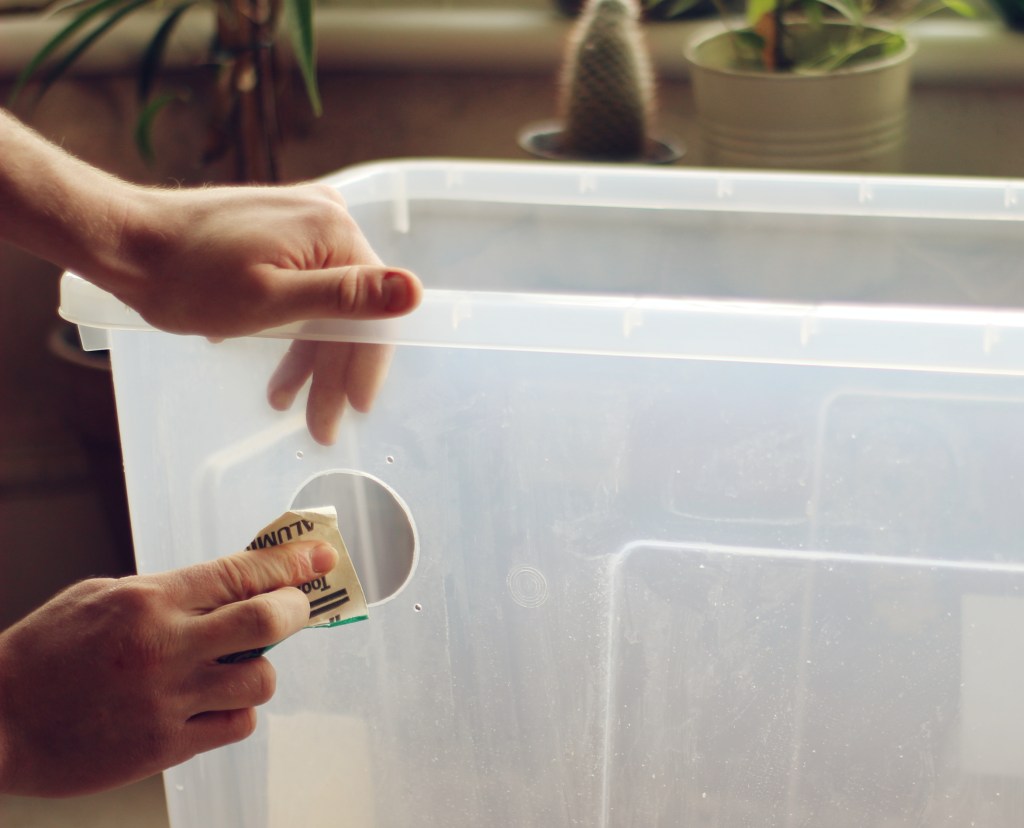
Use a deburring tool or some sandpaper to clean up the edges of the holes.
Use the included nuts and bolts to attach the Cave Box to the tub. There are hexagonal recesses for the nuts to slot into. This can be a bit fiddly so having a friend hold the Cave Box up can help.
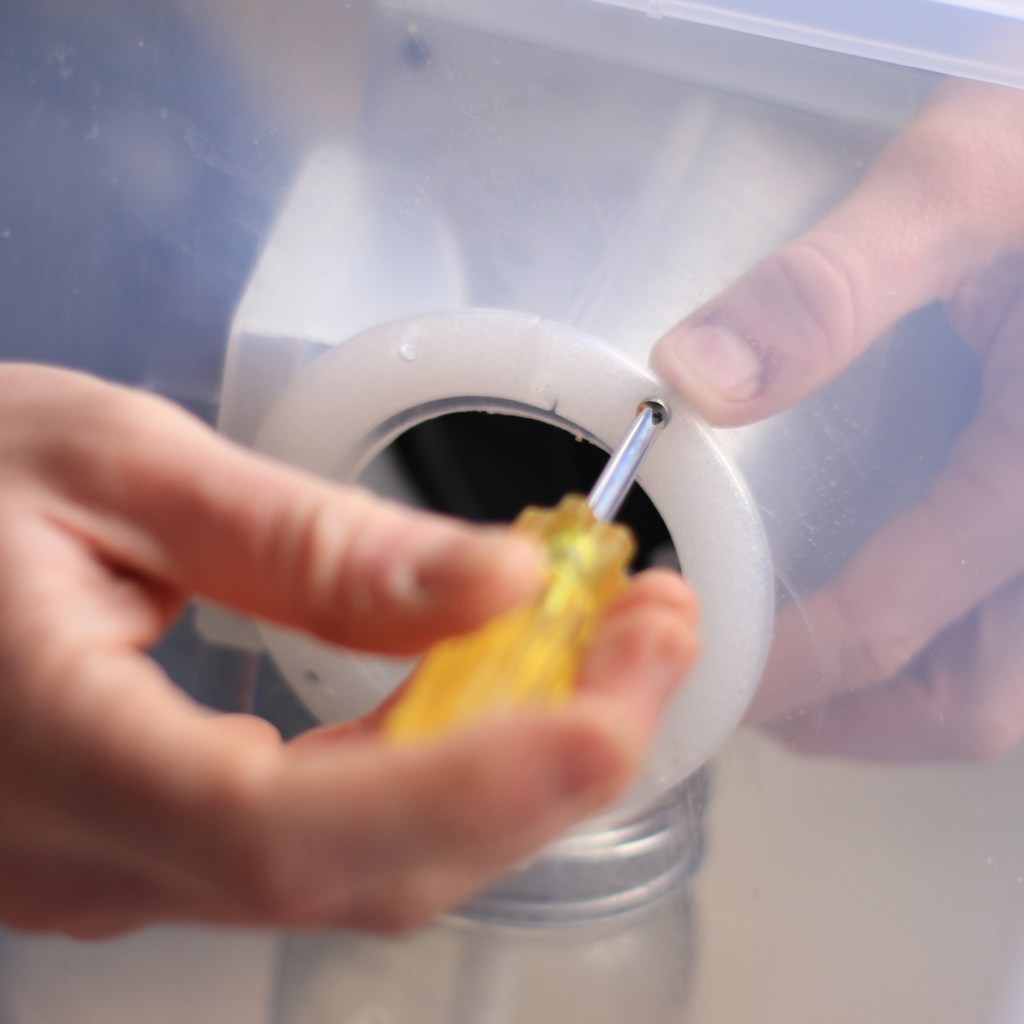

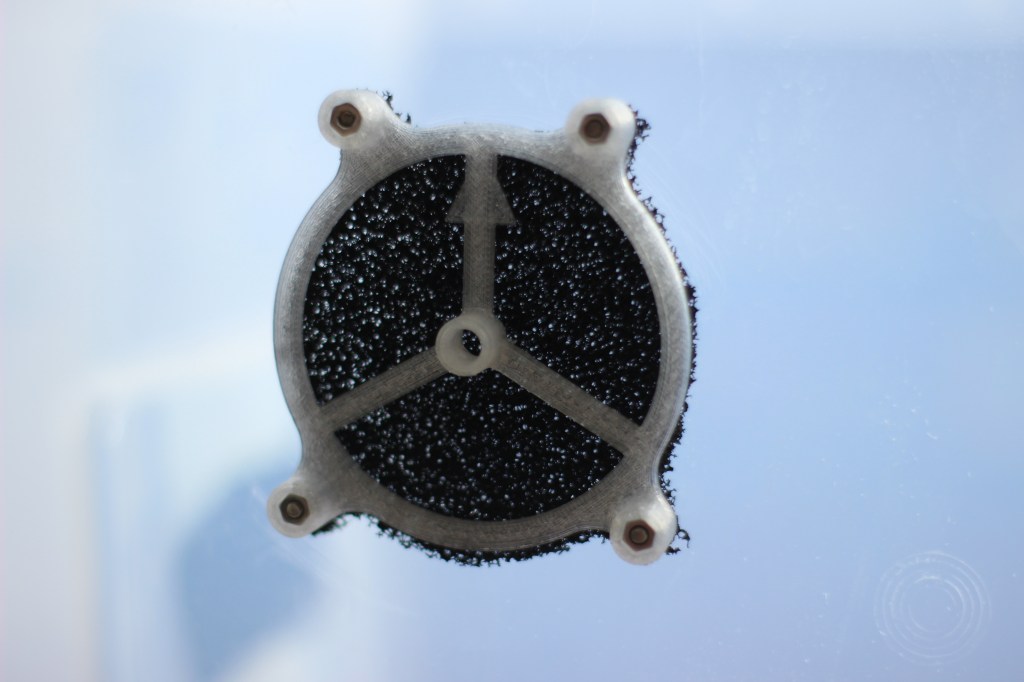
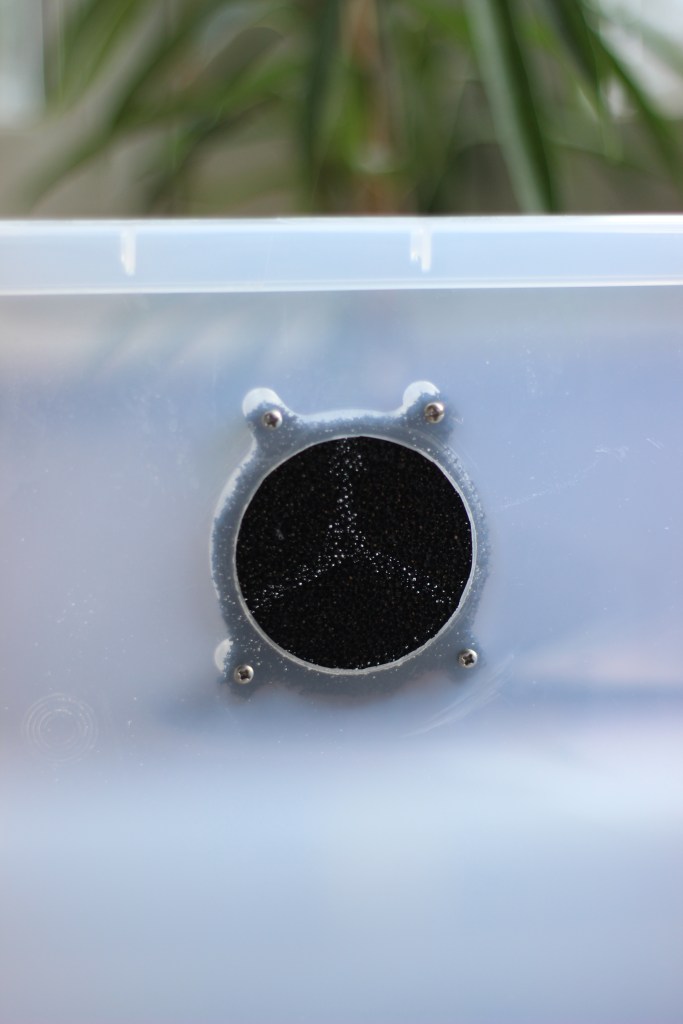
Now it’s time to attach the carbon filter. Repeat the process on the other side of the box, using the guide to make 4 more mounting holes and a central hole for air to pass through. Now put the carbon filter back onto the guide using the included M3 bolts and screw it onto your tub.

Your new mushroom enclosure is now assembled!
Attaching a Cave Box to a tent.

To attach the Cave Box to a tent you need a way to support its weight and something to bolt into and hold the tent flush against the opening on the Cave Box.
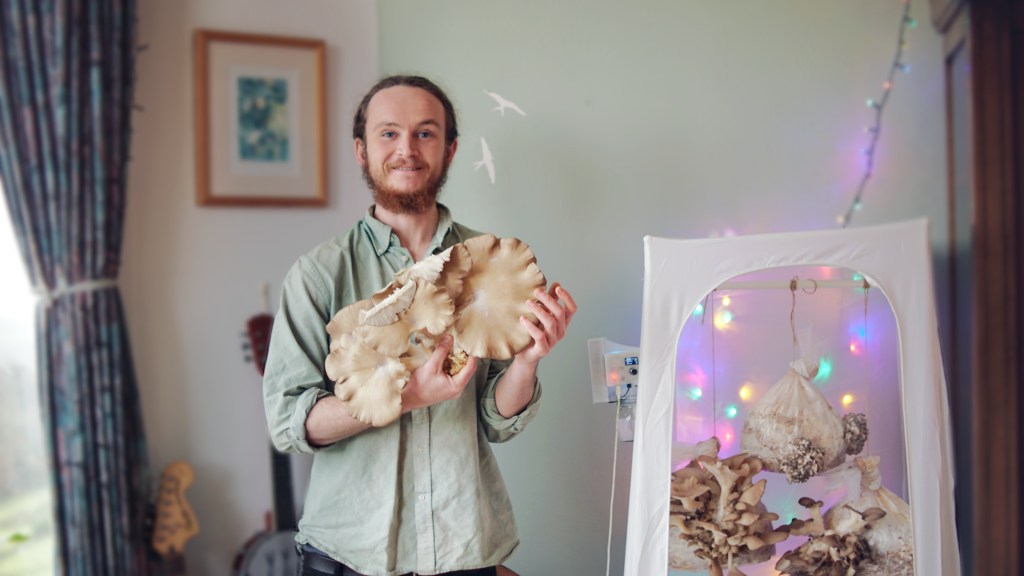
A friend very kindly gave me an Ikea VUKU wardrobe and it works very well as a mushroom growing enclosure. They are quite a lot cheaper than the small greenhouses that are often used and they are simple to modify to make a Martha. The only downside is that they don’t come with shelves so I dangle my growing bags from strings.
You’ll need a sharp knife, a piece of wood and depending on how thick your piece of wood is some longer M3 bolts, I use 20mm ones.
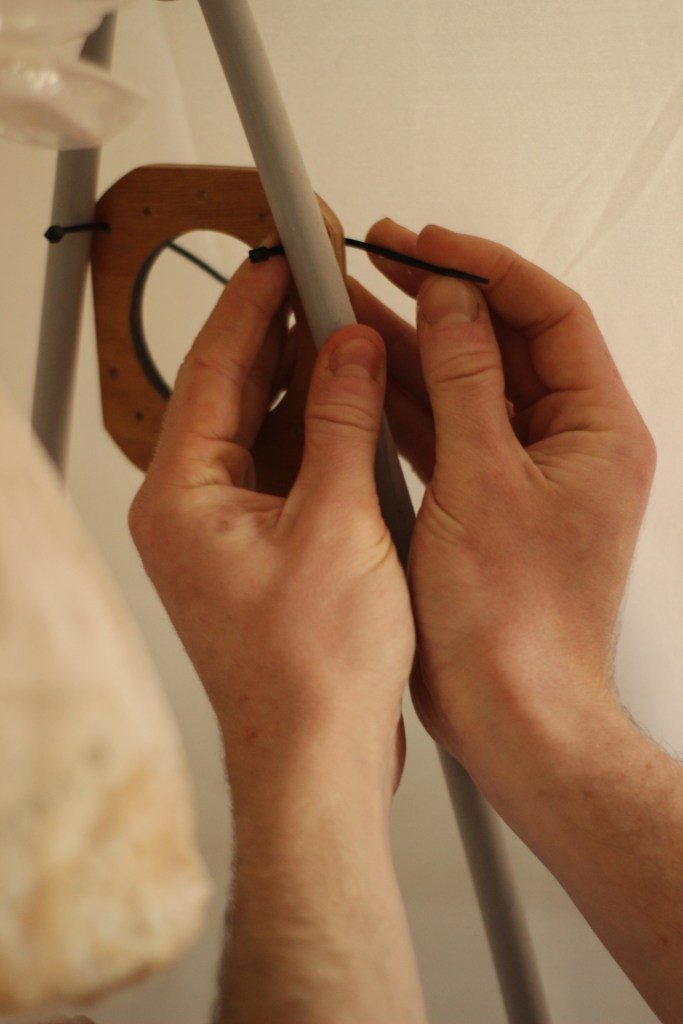
First cut the mounting holes for the Cave Box using the same method as described above but into the piece of wood instead of a plastic tub. Also make some extra holes in the piece of wood to cable tie to the frame of the tent. Please remember that the two bolt holes that are closer together attach to the top of the Cave Box, the arrow on the drill guide should be pointing up.
Next make the holes for the bolts to go through.
Put a bolt into one of the holes in the wood and push it so you can see its ouline on the outside of the tent. Then use a sharp knife to cut a slit for the bolt to go through.

Now repeat for the remaining three bolts. Keep the first bolt through the fabric to keep everything aligned and try to keep the tent tight to minimise creases.
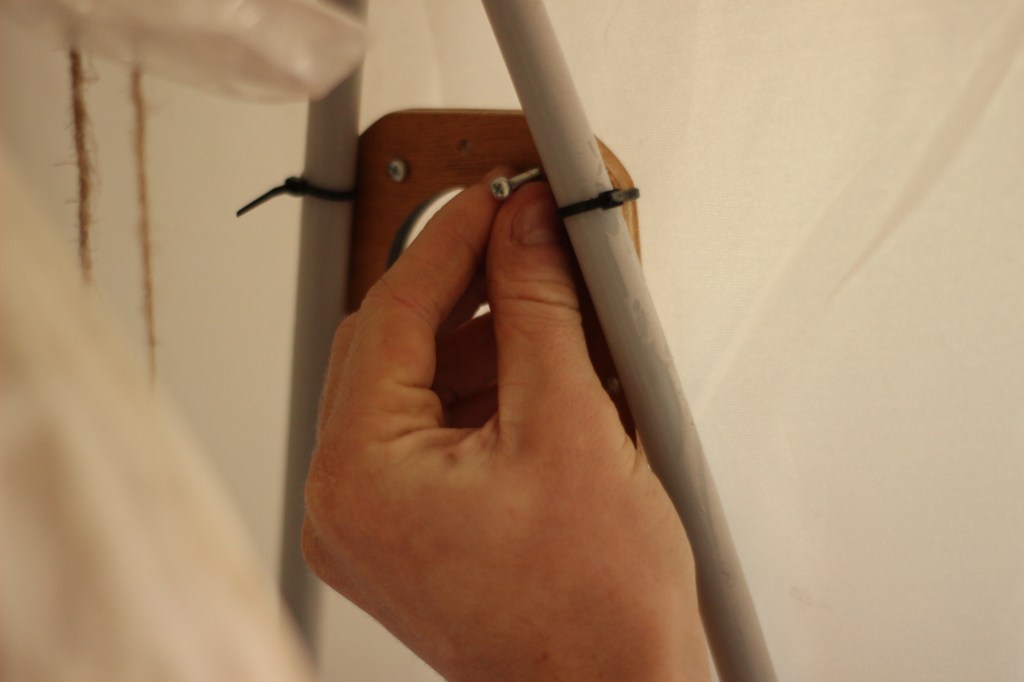
Once you have 4 bolts attach the Cave Box using the included nuts. It can be a bit fiddly so having a friend hold up the Cave Box while you screw it in helps.
Once the Cave Box is attached all you have to do is use a knife to cut out the circle of fabric between the Cave Box and the tent.

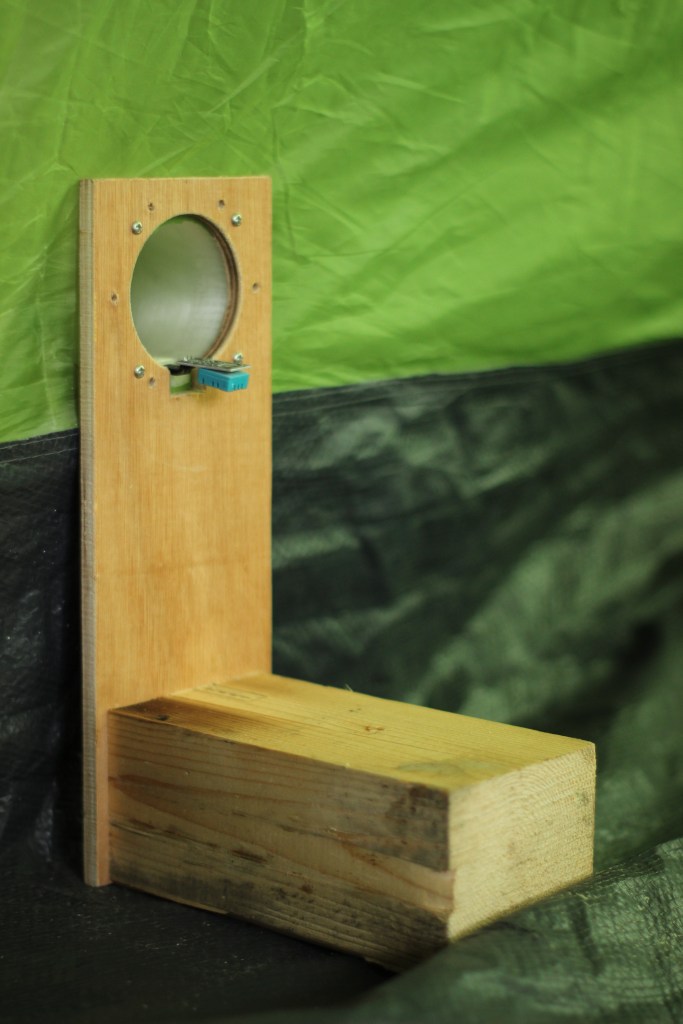
To attach it to a tent that doesn’t have a frame to which you can cable tie things you can make a stand. Make sure that the Cave Box is far enough from the ground so that you can easily remove the jar to refill the water.
Filters on Tents
Both of my tents had mesh built in for ventilation. This mesh wasn’t fine enough to keep out flies, so I used hot glue to attach some finer mesh or linen over the hole.
You can also cut a hole and use the included carbon filter in a tent. Repeat the steps for attaching the Cave Box, but instead of attaching the Cave Box bolt the drill guide over the carbon filter.
Using the Cave Box for the first time.
Unscrew the jar while holding the metal ring and fill it with distilled or filtered water (regular tap water can make the ultrasonic mister clog up, however they are not expensive or difficult to replace. I use tap water and haven’t had any problems but I have unusually soft water and my Cave Boxes have been running for months not years).
Pull out the cotton wick and dip both ends in the water to saturate it. Put the wick back into its hole, push it as far as it will go without forcing it.

Plug a micro usb cable into the Cave Box, and power it up. Your Cave Box is now ready to use. The humidity sensor takes a few minutes to stabilise after switching on, so if the initial reading is surprisingly high leave it for a few minutes.
You’re now ready to grow some mushrooms! In its default settings it will be on and ready to work as a fruiting chamber, so you can just pop your mushroom growing projects in and you’re away. To improve performance you should run the FAE Calibration routine (read the Calibrate FAE section on the Cave Box – Software Guide page).
Maintenence
Every so often you should clean the wick. This is the white thing in the jar. Gently pull it out and if it smells a little dank put it in a bowl with some boiled water and leave it to cool.
Generally spores are not a huge issue as the fan pushes them away from the Cave Box. However if your Cave Box gets covered with spores you can dismantle it to clean it. Undo all the bolts you can see, including the ones in the jar lid. Gently wipe it down and put it back together. If you have trouble reassembling please send me an email. Likewise if your ultrasonic mister head is clogged let me know and I’ll advise you on where to get a replacement.
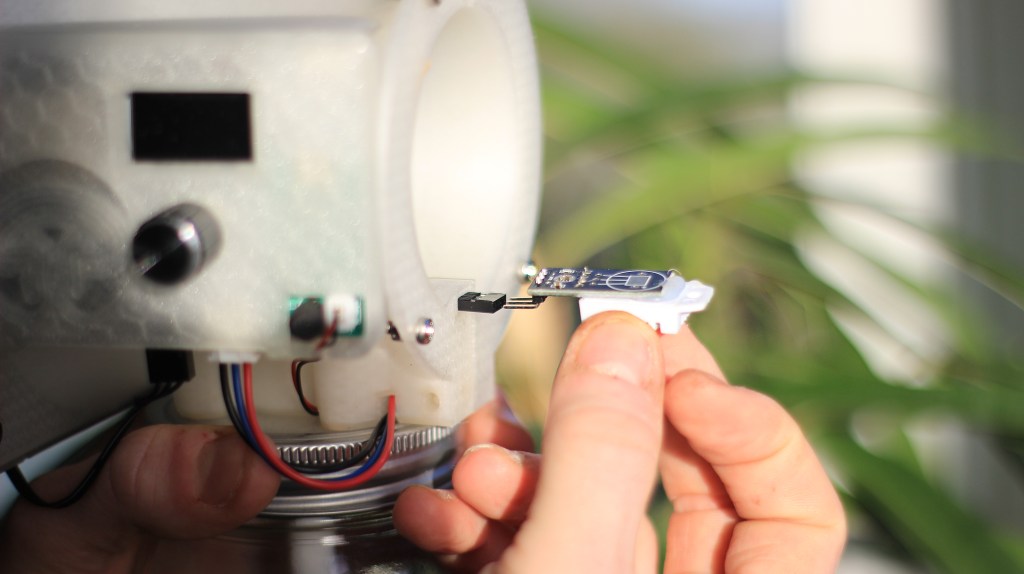
The inlet filter (with the Cave Box logo) can be removed by gently wiggling and pulling it. It can be cleaned under running water, holding the mesh up against the nozzle of the running tap pushes any trapped dust out.
70% Isopropyl alcohol won’t damage the Cave Box so I use this to clean the inside.
If your Cave Box uses the AHT20 sensor and you unplug it make sure you put it back in the correct orientation as shown in the photo below, with the red wire on the right and the blue wire on the left.